Please note that this tutorial is totally worthless since the Lion beta does not include most of the feature included in the final version.
It's just for fun.
What you need:
- An intel core duo/solo Mac computer (MacBook, Mac mini...) running Snow Leopard
- A Mac OS X Lion Developer Preview 1 copy (there's a bay full of pirates that can be useful...)
- Xar 1.5.2 binaries
- One hour
Optional:
- Developer tools, to compile Xar 1.5.2
- A Snow Leopard disk image
- An external hard drive, to backup your computer
What you DON'T need, at all:
- a DVD drive
- a USB drive
- another Mac
Step 1 (optional)
Do a full backup of your computer with TimeMachine.
Step 2
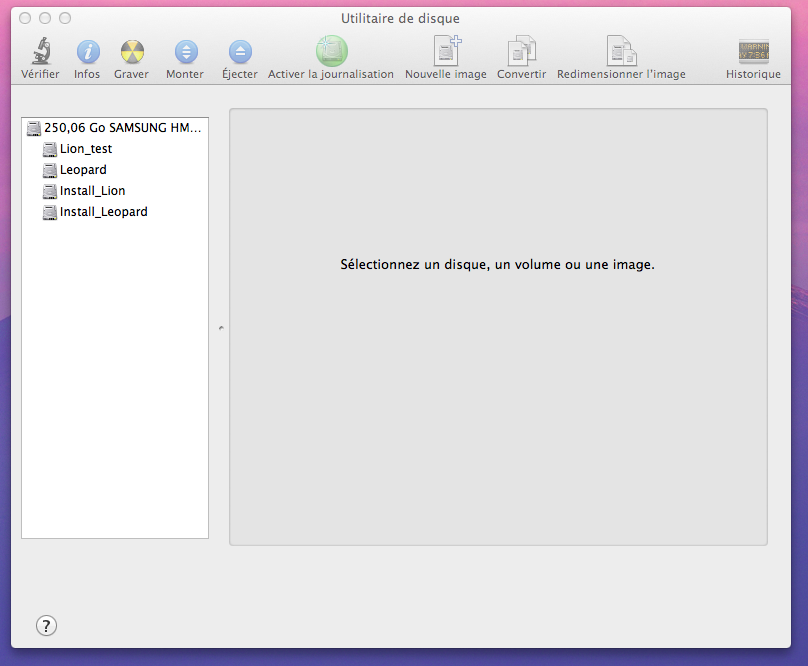
Depending on your drive capabilities, use disk utility to partition your drive that way:
- 2 partitions of 9Gb at the end of your drive, the first one for a fallback emergency Snow Leopard installer, the second one for the Lion installer
- 2 partitions with the remaining space, the first one being your current snow leopard partition, the second one being your target for the Lion install.
Step 3
- Restore the first 9Gb partition with your Mac OS X 10.6 Snow Leopard disk image, using disk utility.
- Restore the second 9Gb partition with your MAC OS X 10.7 Lion Developer Preview 1 disk image, using disk utility.
If anything goes well, you will be able to see your 3 startup volumes in System Preferences > startup
- Your current Leopard install
- Your two system installers
Step 4 (not necessary, I think, if you have downloaded my compiled version of Xar)
Assuming that you have Xcode and dev tools installed, download the Xar source code, extract it, and compile it, by using terminal.app
Step 5
This step requires some command-line stuff, and in order to keep that tutorial simple, you should change the name of your partitions:
On the finder, Make a right-click > properties on each partition and change their names to match the following strings:
Leopard Your current Leopard partition
Lion_test Your Lion target partition
install_Leopard Snow Leopard Installer
install_Lion Lion Installer
Keep in mind that you will be able to choose your startup partition at boot time while holding the alt (command) key when you hear the Mac startup chord. You keep secured at any time, with this tutorial
We will now edit the Lion installer in order to prevent any system checking (Ram, processor, and other stuff)
Go to terminal.app and type "su" to get root privileges (if root is not activated, then activate it)
type the following commands, one line after one:
Download this file and unzip it.
In Finder, go to the workingdir, on your desktop, and replace the Distribution file with this one.
In terminal, type:
We now have updated the installer (who checks your system at the install step) , but don't close your terminal yet, we also need to delete 1 file who are used to check your system at the boot step
Step 6
Reboot your Mac on the Install_Lion partition
Step 7
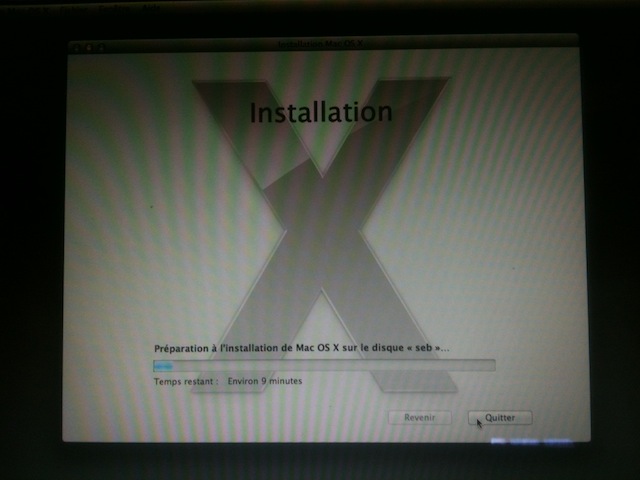
You should now be able to install Lion without any problem
Step 8
Lion will refuse to boot, due to this same PlatformSupport.plist
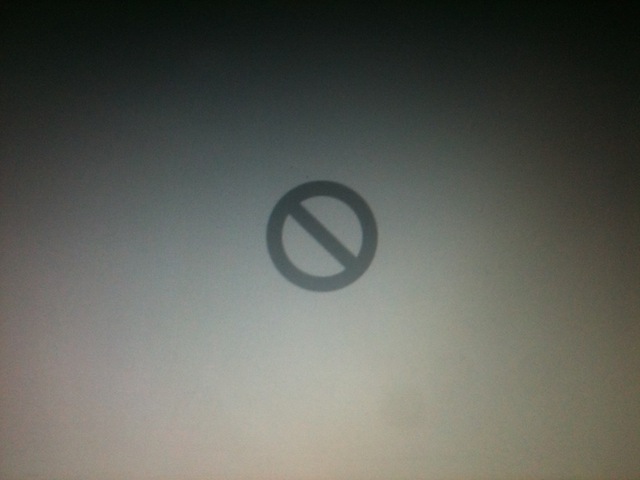
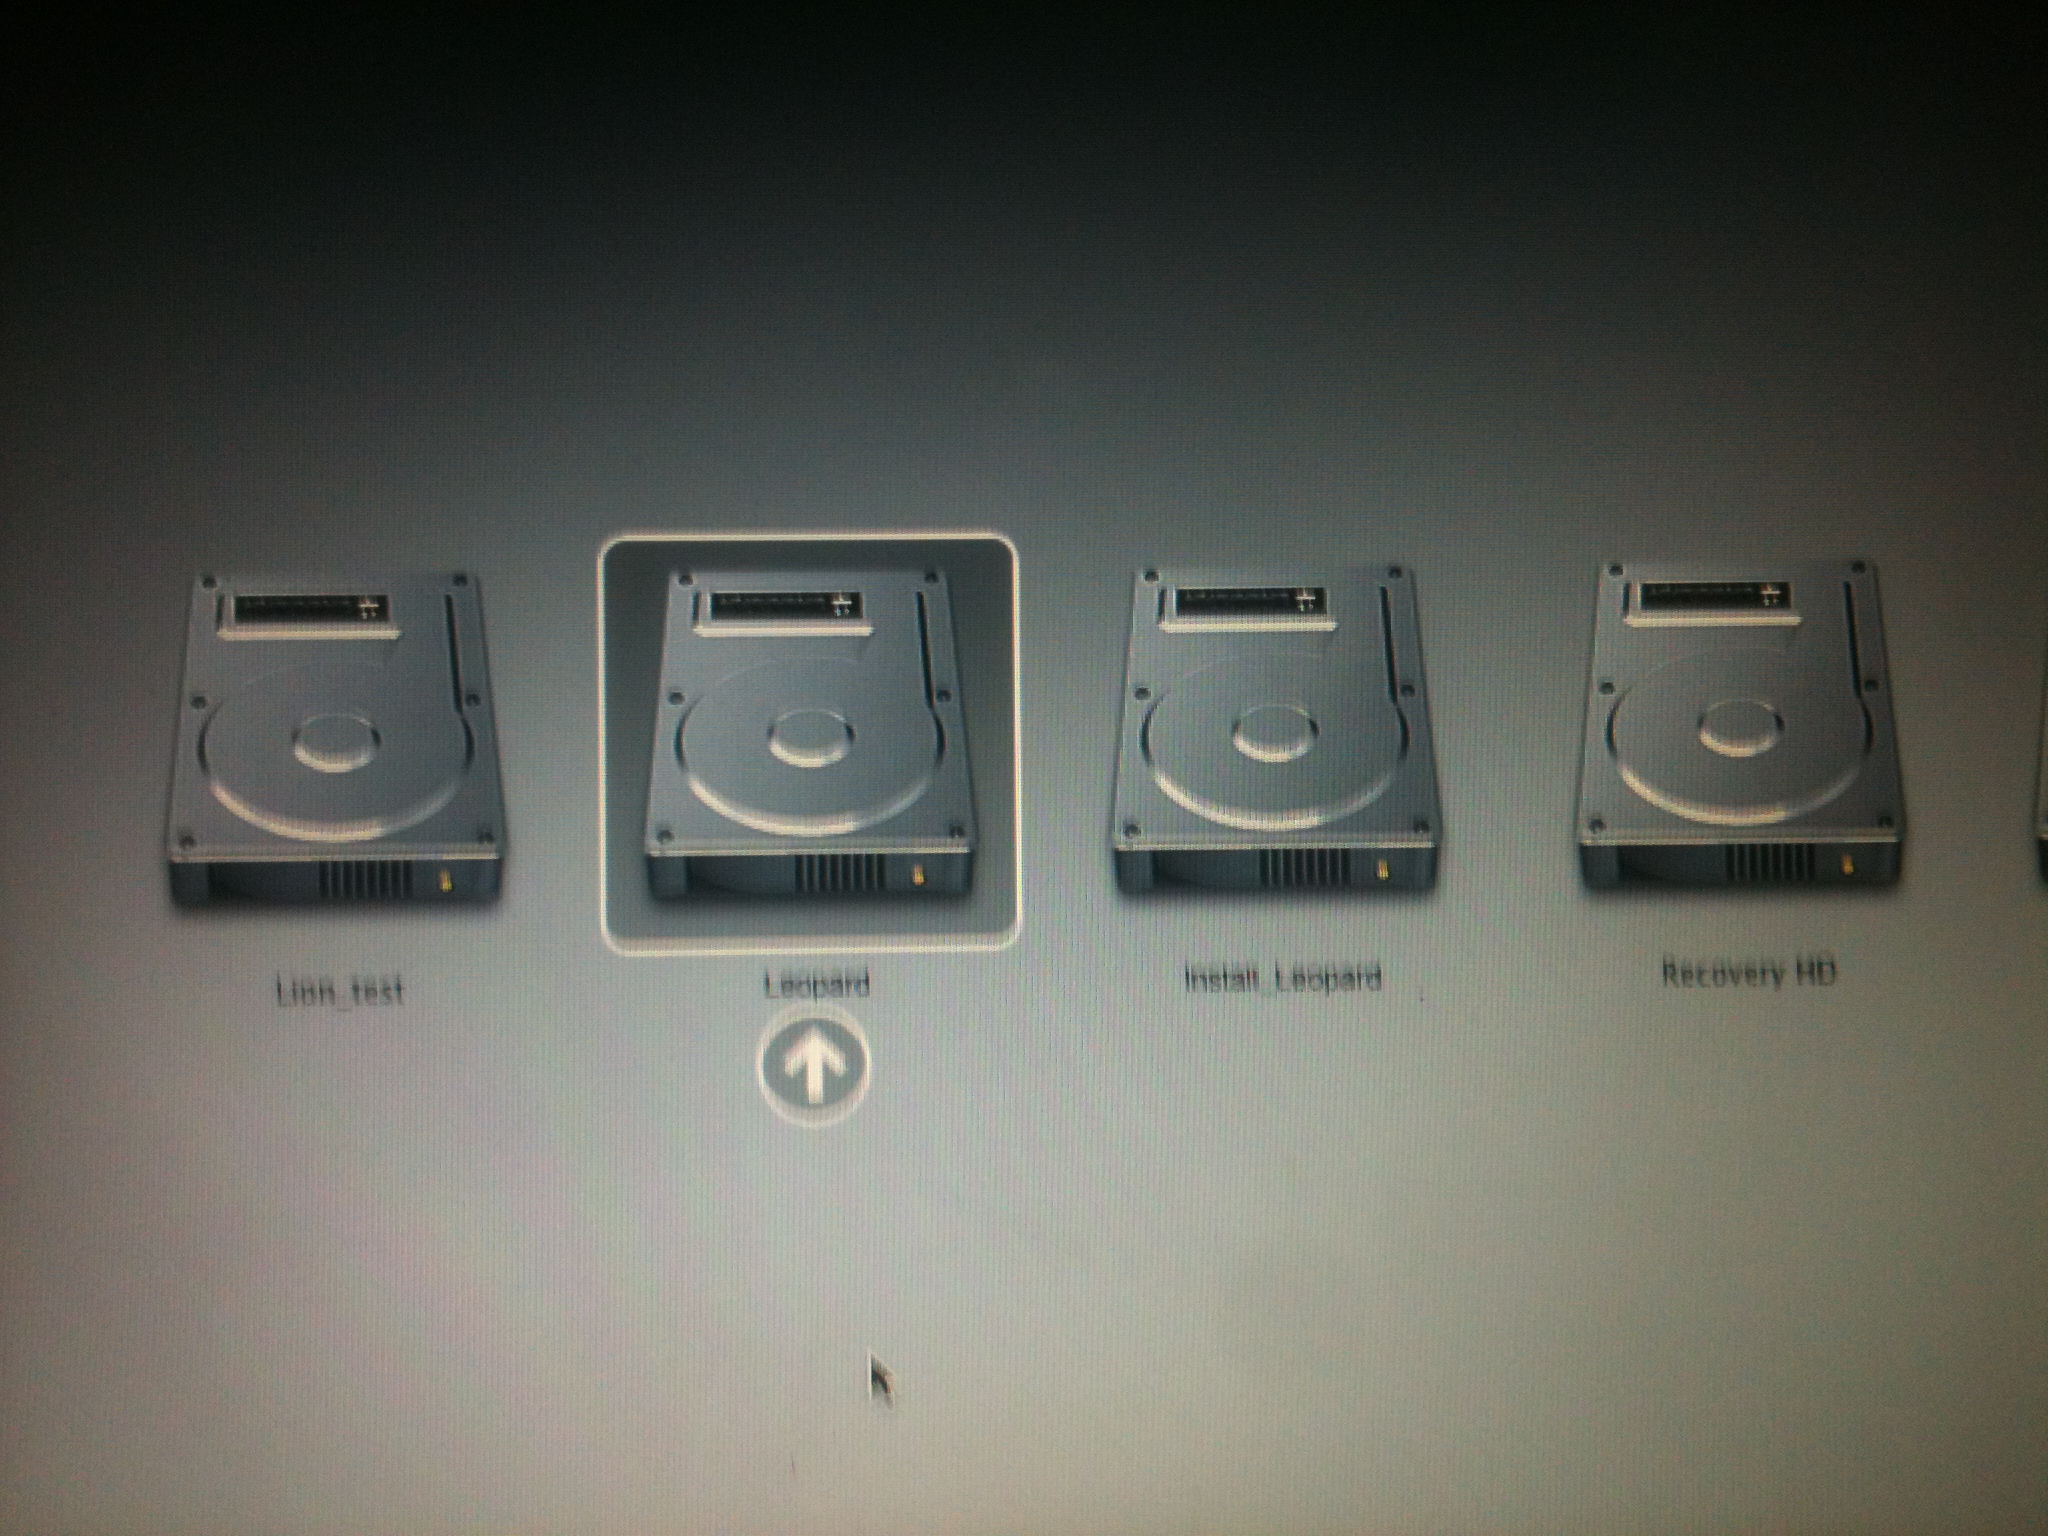
Computer is turned off, press the start button while holding "alt" ("command" on US keyboards), you will see a list of bootable partition.
Choose your Snow Leopard partition.
Step 9
Open terminal.app, and type the following commands:
or delete it via Finder
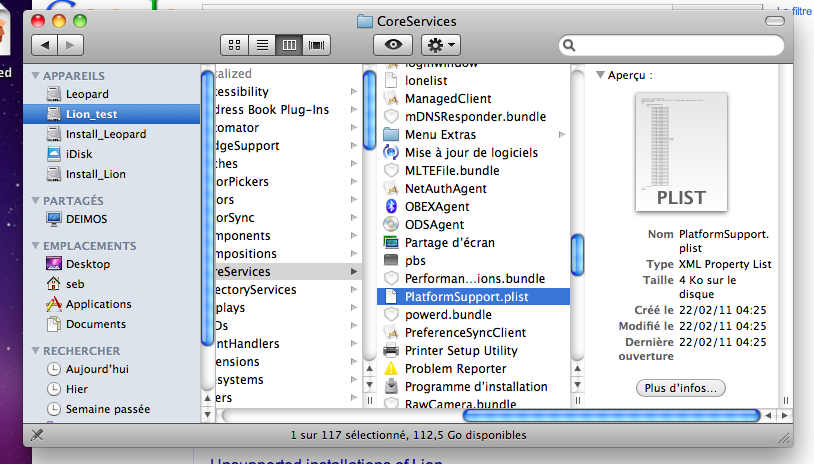
Step 10
Change your startup Volume to "Lion_test"
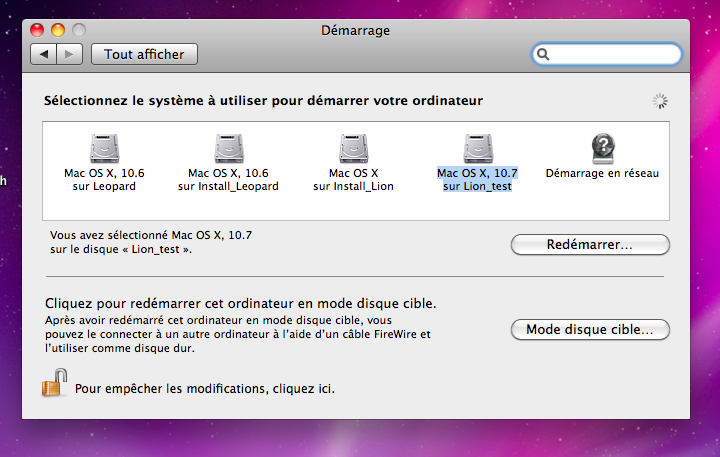
et voilà... You are now running Mac OS X Lion
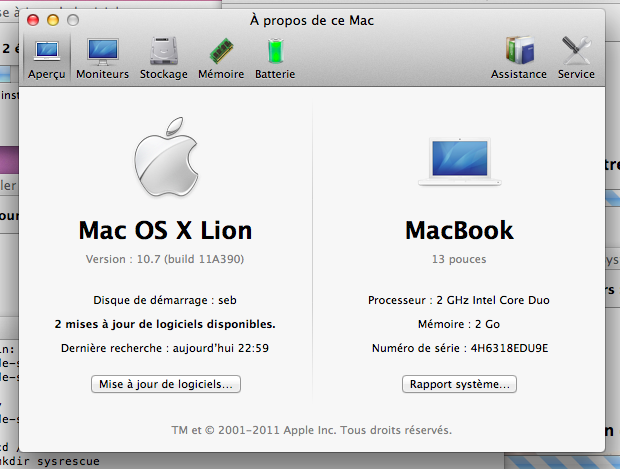
Step 11
You should clean your drive with disk utility by deleting your Snow Leopard partition and your install_Lion partition
It's just for fun.
What you need:
- An intel core duo/solo Mac computer (MacBook, Mac mini...) running Snow Leopard
- A Mac OS X Lion Developer Preview 1 copy (there's a bay full of pirates that can be useful...)
- Xar 1.5.2 binaries
- One hour
Optional:
- Developer tools, to compile Xar 1.5.2
- A Snow Leopard disk image
- An external hard drive, to backup your computer
What you DON'T need, at all:
- a DVD drive
- a USB drive
- another Mac
Step 1 (optional)
Do a full backup of your computer with TimeMachine.
Step 2
Depending on your drive capabilities, use disk utility to partition your drive that way:
- 2 partitions of 9Gb at the end of your drive, the first one for a fallback emergency Snow Leopard installer, the second one for the Lion installer
- 2 partitions with the remaining space, the first one being your current snow leopard partition, the second one being your target for the Lion install.

Step 3
- Restore the first 9Gb partition with your Mac OS X 10.6 Snow Leopard disk image, using disk utility.
- Restore the second 9Gb partition with your MAC OS X 10.7 Lion Developer Preview 1 disk image, using disk utility.
If anything goes well, you will be able to see your 3 startup volumes in System Preferences > startup
- Your current Leopard install
- Your two system installers
Step 4 (not necessary, I think, if you have downloaded my compiled version of Xar)
Assuming that you have Xcode and dev tools installed, download the Xar source code, extract it, and compile it, by using terminal.app
cd {Xar folder}

./configure

make

make install
Step 5
This step requires some command-line stuff, and in order to keep that tutorial simple, you should change the name of your partitions:
On the finder, Make a right-click > properties on each partition and change their names to match the following strings:
Leopard Your current Leopard partition
Lion_test Your Lion target partition
install_Leopard Snow Leopard Installer
install_Lion Lion Installer
Keep in mind that you will be able to choose your startup partition at boot time while holding the alt (command) key when you hear the Mac startup chord. You keep secured at any time, with this tutorial
We will now edit the Lion installer in order to prevent any system checking (Ram, processor, and other stuff)
Go to terminal.app and type "su" to get root privileges (if root is not activated, then activate it)
type the following commands, one line after one:
mkdir ~/Desktop/workingdir

cp /Volumes/install_Lion/Packages/OSInstall.mpkg /Users//Desktop/workingdir/

xar -x -f /Users//Desktop/workingdir/OSInstall.mpkg
Download this file and unzip it.
In Finder, go to the workingdir, on your desktop, and replace the Distribution file with this one.
In terminal, type:
xar -c -f /Users//Desktop/workingdir/OSInstall.mpkg *

mv ~/Desktop/workingdir/OSInstall.mpkg /Volumes/install_Lion/Packages/
We now have updated the installer (who checks your system at the install step) , but don't close your terminal yet, we also need to delete 1 file who are used to check your system at the boot step
rm /Volumes/System/CoreServices/PlatformSupport.plist
Step 6
Reboot your Mac on the Install_Lion partition
Step 7
You should now be able to install Lion without any problem
Step 8
Lion will refuse to boot, due to this same PlatformSupport.plist
Computer is turned off, press the start button while holding "alt" ("command" on US keyboards), you will see a list of bootable partition.
Choose your Snow Leopard partition.
Step 9
Open terminal.app, and type the following commands:
su

rm /Volumes/Lion_test/System/Library/CoreServices/PlatformSupport.plist
or delete it via Finder

Step 10
Change your startup Volume to "Lion_test"

et voilà... You are now running Mac OS X Lion

Step 11
You should clean your drive with disk utility by deleting your Snow Leopard partition and your install_Lion partition